


Description
MH Sensor Series
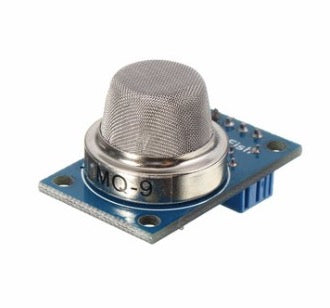
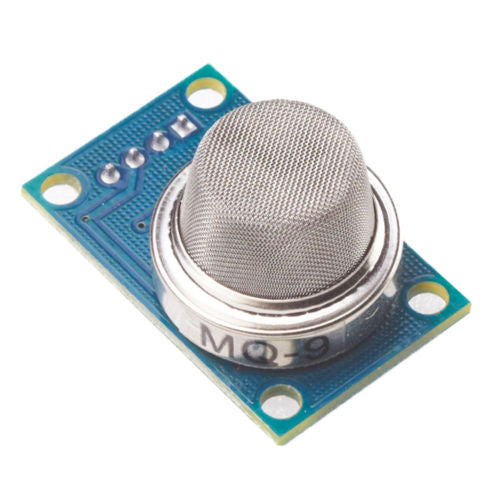
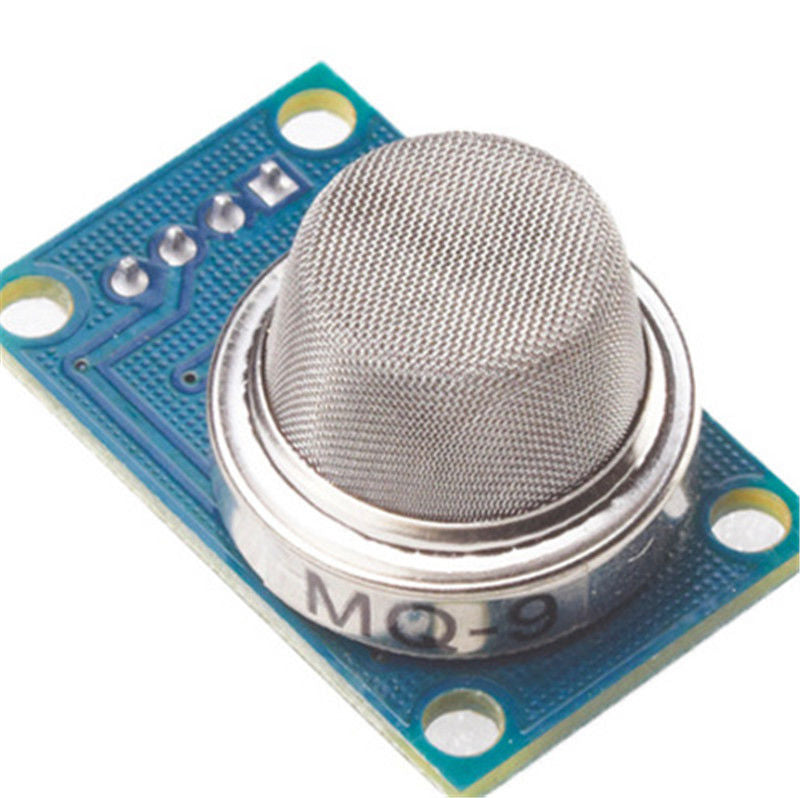
This is an easy to use sensor module you can use to sense the amount of contaminant in surrounding air, giving the reading of air quality index. This is a famous sensor module commonly used with Arduino to build smoke detectors, IoT environment monitoring and smart agricultural projects.
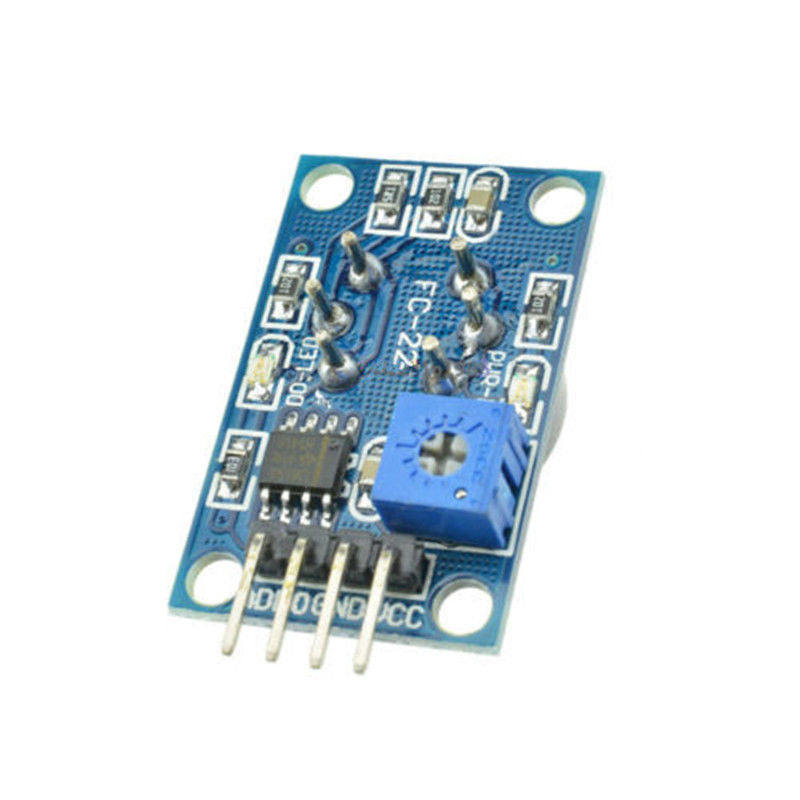
Note : This sensor works with both digital and analog mode. You can connect analog output (AO) to get the air quality index reading (conversion required), or you can connect the digital output (DO) to sense the threshold of air quality. Adjust the potentiometer (a.k.a. trimmer) to set the digital output (DO) sensitivity.
This gas sensor heating element is alternating between 1.4V and 5V.
Sensitive to Gas
- Carbon Monoxide (CO)
- Flammable gases
Common Features
- Operating voltage : 5V
- Output type : DIGITAL and ANALOG
- Preheat duration : 20s
- Adjustable sensitivity via potentiometer
- Comes with LED indicators for POWER and OUTPUT
- Fixed screw holes for easy installation
- Model : FC-22
Pinout and Wiring

| Label | Meaning | Connection |
| VCC | Power source | Connect to 5V of system |
| GND | Ground | Connect to GND of system |
| DO | Digital Output | Connect to digital IO pin |
| AO | Analog Output | Connect to analog input pin |
Code
Hardware Components
You will require the following hardware for Interfacing MQ-9 Gas Sensor with Arduino:
| S.no | Component | Value | Qty |
|---|---|---|---|
| 1. | Arduino | UNO | 1 |
| 2. | Gas Sensor | MQ9 | 1 |
| 3. | Red LED | – | 1 |
| 4. | Resistor | 1KΩ | 1 |
| 5. | Breadboard | – | 1 |
| 6. | Jumper Wires | – | 1 |
Schematic
Make connections according to the circuit diagram given below.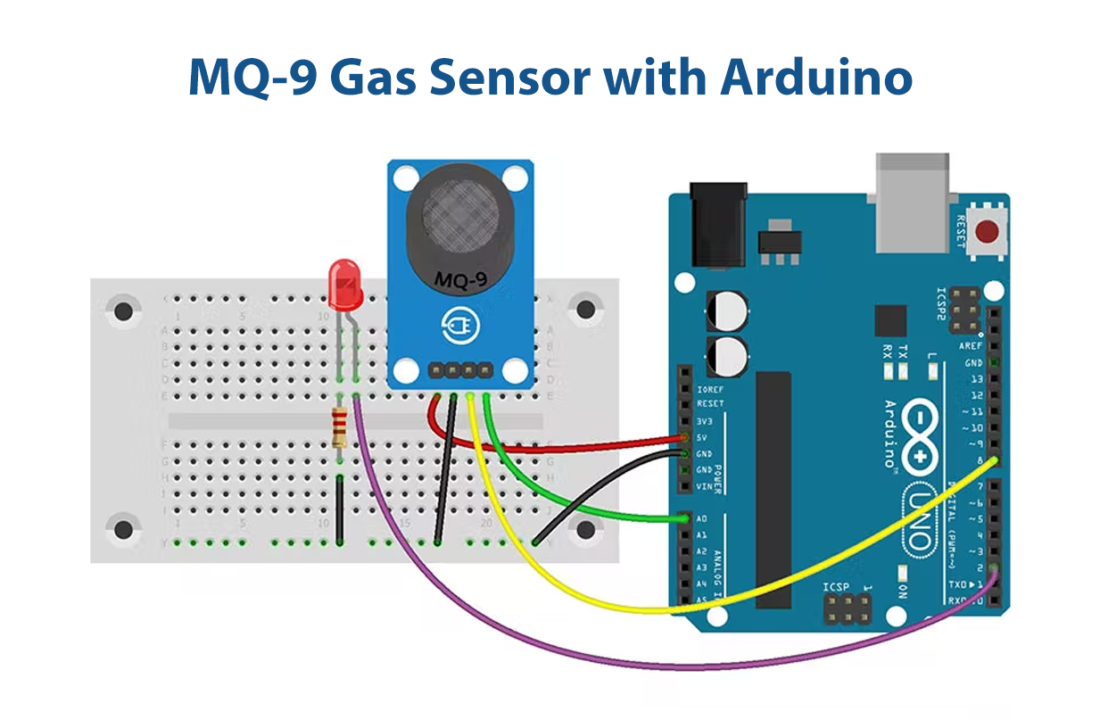
Wiring / Connections
| Arduino | MQ9 Gas Sensor | LED |
|---|---|---|
| 5V | VCC | |
| GND | GND | -ve with Resistor |
| A0 | A0 | |
| D8 | D0 | |
| D2 | Positive |
Code
Now copy the following code and upload it to Arduino IDE Software.
void setup() {
 Serial.begin(9600);
}
void loop() {
 float sensor_volt;
 float RS_air; //  Rs in clean air
 float R0;  // R0 in 1000 ppm LPG
 float sensorValue;
//Average
   for(int x = 0 ; x < 100 ; x++)
 {
   sensorValue = sensorValue + analogRead(A0);
 }
 sensorValue = sensorValue/100.0;
//-----------------------------------------------/
 sensor_volt = (sensorValue/1024)*5.0;
 RS_air = (5.0-sensor_volt)/sensor_volt; // Depend on RL on yor module
 R0 = RS_air/9.9; // According to MQ9 datasheet table
 Serial.print("sensor_volt = ");
 Serial.print(sensor_volt);
 Serial.println("V");
 Serial.print("R0 = ");
 Serial.println(R0);
 delay(1000);
}
const int LED = 2;
const int DO = 8;
void setup() {
 Serial.begin(9600);
 pinMode(LED, OUTPUT);
 pinMode(DO, INPUT);
}
void loop() {
 int alarm = 0;
 float sensor_volt;
 float RS_gas;
 float ratio;
//-Replace the name "R0" with the value of R0 in the demo of First Test -/
 float R0 = 0.91;
 int sensorValue = analogRead(A0);
 sensor_volt = ((float)sensorValue / 1024) * 5.0;
RS_gas = (5.0 - sensor_volt) / sensor_volt; // Depend on RL on yor module
 ratio = RS_gas / R0; // ratio = RS/R0
//------------------------------------------------------------/
 Serial.print("sensor_volt = ");
 Serial.println(sensor_volt);
 Serial.print("RS_ratio = ");
 Serial.println(RS_gas);
 Serial.print("Rs/R0 = ");
 Serial.println(ratio);
 Serial.print("\n\n");
 alarm = digitalRead(DO);
 if (alarm == 1) digitalWrite(LED, HIGH);
 else if (alarm == 0) digitalWrite(LED, LOW);
 delay(1000);
}
Let’s Test It
Now you need to test the circuit. Once you calibrate the circuit. Upload the second code, and see the gas concentration coming on the serial monitor. If the sensor detects CO, etc; the LED would turn on.
Working Explanation
To get the working circuit, you need to dig into the code. You can see there are two codes given above. The first code is for calibration purposes. After preheating in clean air, upload the first code and wait for R0 to achieve a fixed value for roughly 15 minutes. We averaged 100 data to provide a steady number. After that, we take a sensor voltage reading and determine Rs using RL resistance. R0 can then be determined.
Once you get the R0, placed that in the second code. Based on the resistance ratio, this sensor calculates the gas concentration. The resistance of the sensor lowers when a carbon monoxide, coal, liquefied, or combustible gas sensor is present in the air, and an LED turns on.
Know that, Rs is sensor resistance at 1000 ppm LPG concentration, and R0 is the Internal resistance of the sensor which changes by gas concentration.
Applications
- Industrial gas detectors
- Combustible gas monitoring devices; etc
Conclusion.
We hope you have found this How to Calibrate & Use MQ9 Gas Sensor w/ Arduino Circuit very useful. If you feel any difficulty in making it feel free to ask anything in the comment section.