
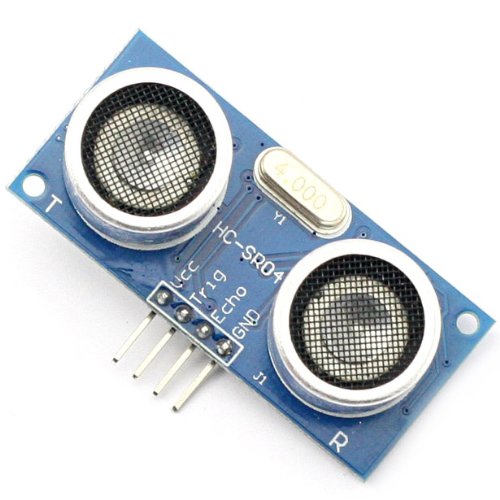


Description
HC-SR04 stands for High-Conductance Ultrasonic Sensor consists of a transmitter and receiver. The sensor measures how far things are without touching them, and it uses sound waves to get the measurements right. It can work well when things are between two to four centimeters away. Just like other tools that measure distances, this sensor doesn’t harm objects. So, it’s good for things that are around two to four centimeters away.
The HC-SR04 creates sounds we can’t hear, which help us figure out how far things are or how they’re placed. The sensor can feel things within a specific area. To get it to function, you need to lift the Trig pin while keeping the Echo pin down for roughly 10 seconds.
The Ultrasonic sensor can tell you how far things are, even if they’re as distant as 13 feet. It’s really cheap and easy to use, which is great for robots that run on batteries. This thing kind of looks like the eyes of Wall-E the Robot. It sends out sounds you can’t hear, and these sounds are like 40,000 little vibrations per second. The farther away things are, the quieter the sounds get. Depending on how far stuff is, you can use this sensor for all sorts of things. You can also study how the sensor works to get what it does.
Every time the wave reflects, the HC-SR04 produces a pulse. The time between the transmitted wave and the reflected signal is proportional to the distance, and the longer the time, the greater the distance. The sensor can determine the distance between the transmitter and the object when this pulse is high. It is an excellent tool for robot obstacle avoidance and path-finding applications. This is the ultrasonic sensor definition.
Technical Specifications
Here are the specifications:
| Operating Voltage | DC 5V |
| Operating Current | 15mA |
| Operating Frequency | 40KHz |
| Max Range | 4m |
| Min Range | 2cm |
| Ranging Accuracy | 3mm |
| Measuring Angle | 15 degree |
| Trigger Input Signal | 10µS TTL pulse |
| Dimension | 45 x 20 x 15mm |
How Ultrasonic Sensor Works
It all starts when the trigger pin is set HIGH for 10µs. In response, the sensor transmits an ultrasonic burst of eight pulses at 40 kHz. This 8-pulse pattern is specially designed so that the receiver can distinguish the transmitted pulses from ambient ultrasonic noise.
These eight ultrasonic pulses travel through the air away from the transmitter. Meanwhile the echo pin goes HIGH to initiate the echo-back signal.
If those pulses are not reflected back, the echo signal times out and goes low after 38ms (38 milliseconds). Thus a pulse of 38ms indicates no obstruction within the range of the sensor.
If those pulses are reflected back, the echo pin goes low as soon as the signal is received. This generates a pulse on the echo pin whose width varies from 150 µs to 25 ms depending on the time taken to receive the signal.
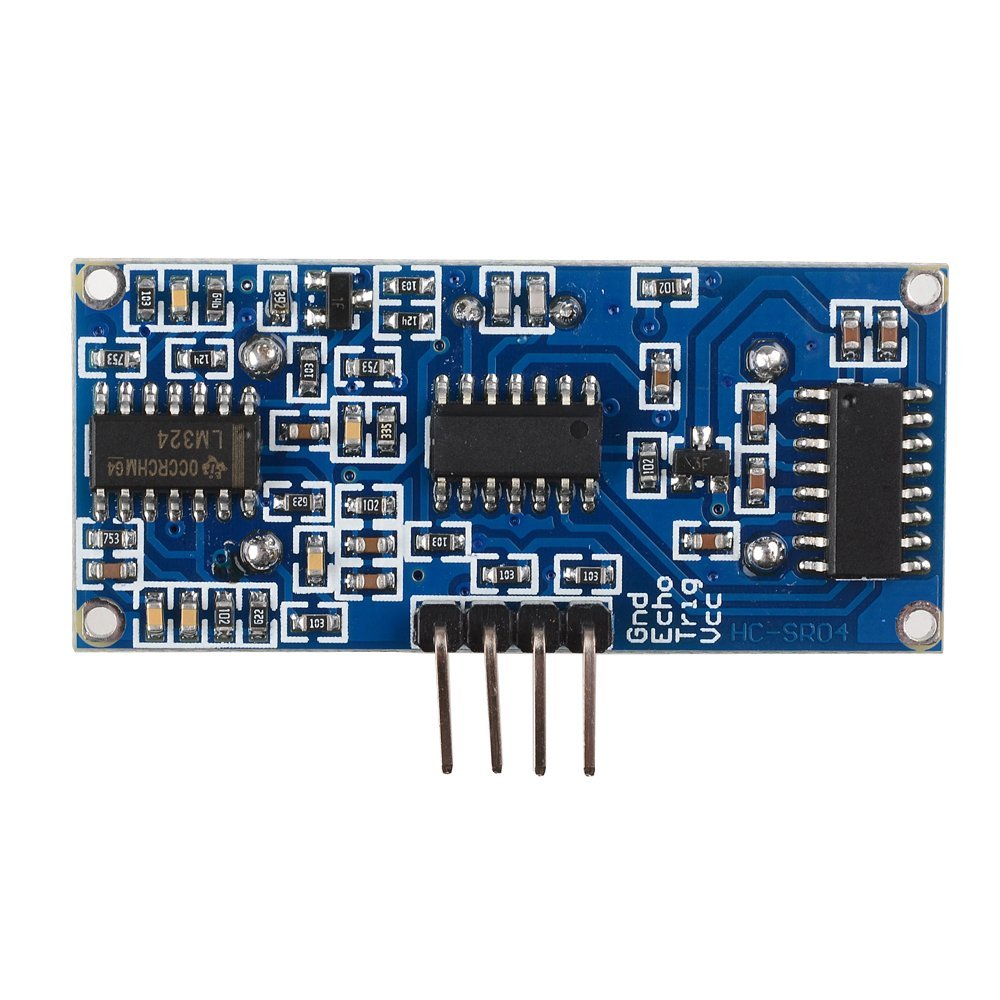
Pinout

VCC supplies power to the HC-SR04 ultrasonic sensor. You can connect it to the 5V output from your Arduino.
Trig (Trigger) pin is used to trigger ultrasonic sound pulses. By setting this pin to HIGH for 10µs, the sensor initiates an ultrasonic burst.
Echo pin goes high when the ultrasonic burst is transmitted and remains high until the sensor receives an echo, after which it goes low. By measuring the time the Echo pin stays high, the distance can be calculated.
GND is the ground pin. Connect it to the ground of the Arduino.
Wiring
Connecting the HC-SR04 to Arduino is very easy. Start by placing the sensor on your breadboard. Connect the VCC pin to the 5V pin on the Arduino and the GND pin to the ground pin. Now connect the trig and echo pins to digital pins #9 and #10 respectively.
The following table lists the pin connections:
| HC-SR04 Sensor | Arduino | |
| VCC | 5V | |
| Trig | 9 | |
| Echo | 10 | |
| GND | GND |
When you are done you should have something that looks similar to the image shown below.

Library Installation
Triggering the ultrasonic sensor and measuring the received signal pulse width manually is a lot of work but luckily there are many libraries available to us. One of the popular libraries is the NewPing library. This is the library we will use in our examples.
The NewPing library is quite advanced. It supports up to 15 ultrasonic sensors at once and can output directly in centimeters, inches, or time periods.
This library is not included in the Arduino IDE, so you will need to install it first.
To install the library navigate to Sketch > Include Libraries > Manage Libraries… Wait for Library Manager to download the library index and update the list of installed libraries.
Filter your search by typing ‘newping’. Click on the first entry and then select Install.
Arduino Example Code
Here is a simple sketch that uses the serial monitor to display a distance measured in centimeters. Give this sketch a try before we start a detailed analysis of it.
// Include NewPing Library
#include "NewPing.h"

// Hook up HC-SR04 with Trig to Arduino Pin 9, Echo to Arduino pin 10
#define TRIGGER_PIN 9
#define ECHO_PIN 10

// Maximum distance we want to ping for (in centimeters).
#define MAX_DISTANCE 400

// NewPing setup of pins and maximum distance.
NewPing sonar(TRIGGER_PIN, ECHO_PIN, MAX_DISTANCE);

void setup() {
	Serial.begin(9600);
}

void loop() {
	Serial.print("Distance = ");
	Serial.print(sonar.ping_cm());
	Serial.println(" cm");
	delay(500);
}
Once the sketch is uploaded, open your serial monitor, set the baud rate to 9600 bps. Try pointing the sensor at objects lying around you. You should see the measured distance begin to stream by.
Code Explanation:
The sketch starts by including the newly installed NewPing library.
#include "NewPing.h"First the Arduino pins are defined to which the Trig and Echo pins of the HC-SR04 are connected. We have also defined a constant called MAX_DISTANCE. It will set a maximum distance where pings beyond that distance are read as no ping “clear”. MAX_DISTANCE is currently set to 400 [default = 500cm].
#define TRIGGER_PIN 9
#define ECHO_PIN 10
#define MAX_DISTANCE 400
After this, an instance of NewPing library named sonar is created.
NewPing sonar(TRIGGER_PIN, ECHO_PIN, MAX_DISTANCE);In the setup, we initialize the serial communication with PC.
void setup() {
	Serial.begin(9600);
}
In the loop, we simply call the ping_cm() function and print the result on the serial monitor. This function sends a ping and returns the distance in centimeters.
void loop() {
	Serial.print("Distance = ");
	Serial.print(sonar.ping_cm());
	Serial.println(" cm");
	delay(500);
}