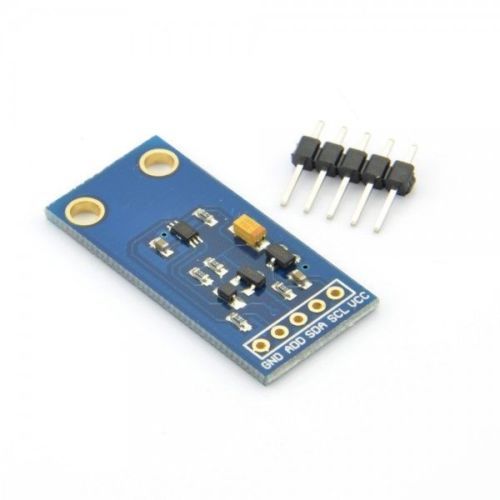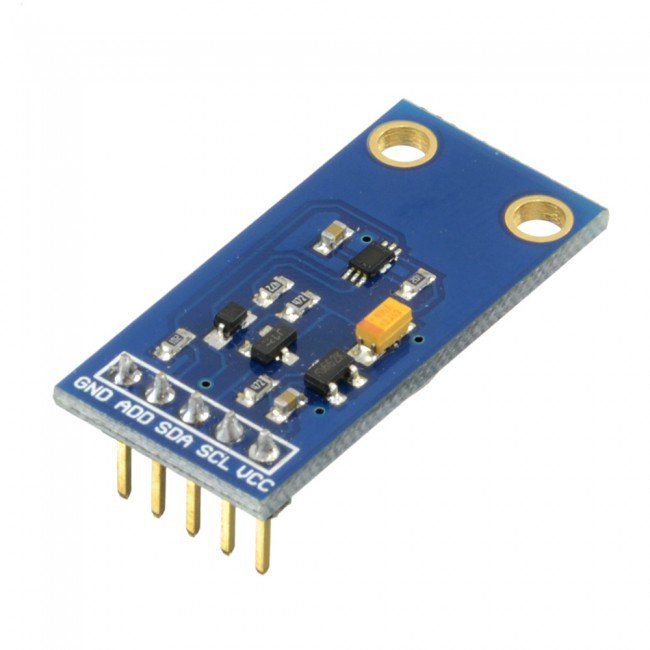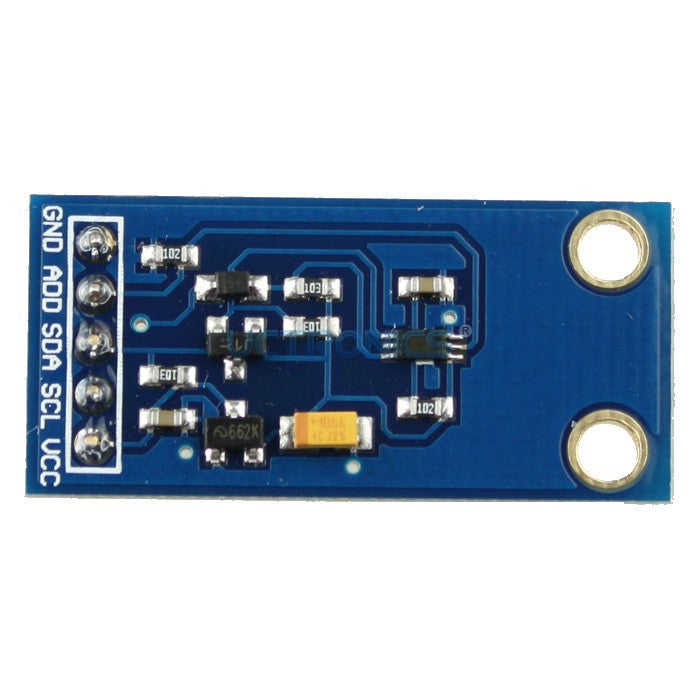
Description:
The GY-30 light module with the BH1750FVI digital light sensor is a component designed to measure ambient light levels in a digital format. It utilizes the BH1750FVI sensor to provide accurate and reliable light intensity readings. Here are some key features and details about this particular light sensor module:
General Description:
1. Sensor Chip:
The BH1750FVI is a digital ambient light sensor IC that is commonly used in light-sensing applications.
2. Digital Output:
The module provides a digital output, making it easy to interface with microcontrollers and other digital devices.
3. Light Measurement Range:
The BH1750FVI sensor typically has a wide dynamic range, allowing it to measure light levels in various environments.
4. Accuracy:
The accuracy of the sensor is specified by the manufacturer and is an important factor in obtaining reliable light intensity readings.
5. Communication Protocol:
The module communicates using the I2C (Inter-Integrated Circuit) protocol, a common serial communication standard.
6. Power Supply:
The module requires a power supply within a specified voltage range. It is important to provide the correct voltage to ensure proper functionality.
7. Operating Temperature Range:
The module is designed to operate within a specified temperature range, and it's crucial to consider this when deploying it in different environments.
8. Compact Form Factor:
The GY-30 light module is typically compact and easy to integrate into various electronic projects.
9. Application:
This light sensor module is commonly used in applications where monitoring ambient light levels is important, such as in smart lighting systems, weather stations, and automatic brightness adjustment in displays.
10. Resolution:
The BH1750FVI sensor provides a resolution that defines the smallest detectable change in light intensity.
11. Calibration:
Some modules may offer calibration options or features to compensate for variations in performance.
12. Data Output Format:
The digital light sensor provides light intensity readings in a specific format, usually lux or similar units.
13. Compatibility:
The module is compatible with various microcontrollers and development platforms, making it versatile for use in different projects.
14. Documentation:
Datasheet: GY-30 datasheet
Workshop:
Here is a quick introduction to using the GY-30 light intensity sensor module. This will provide you with an entry point to using the module to accurately monitor light levels.
This example will demonstrate the use of an Arduino UNO in selecting the module from the i2c bus and reading the sensor output. Once stored, it will check and pass them to the serial monitor. This will use the BH1750 sensor library created by Claws to interface with the chipset.
Components
- 1pcs Arduino UNO or Compatible
- 1pcs GY-30 Light Intensity Sensor Module
- 4pcs Male to Female Jumper Cables
Wiring
Wire the two boards together as can be seen in the image below, taking care to match the pin numbers.
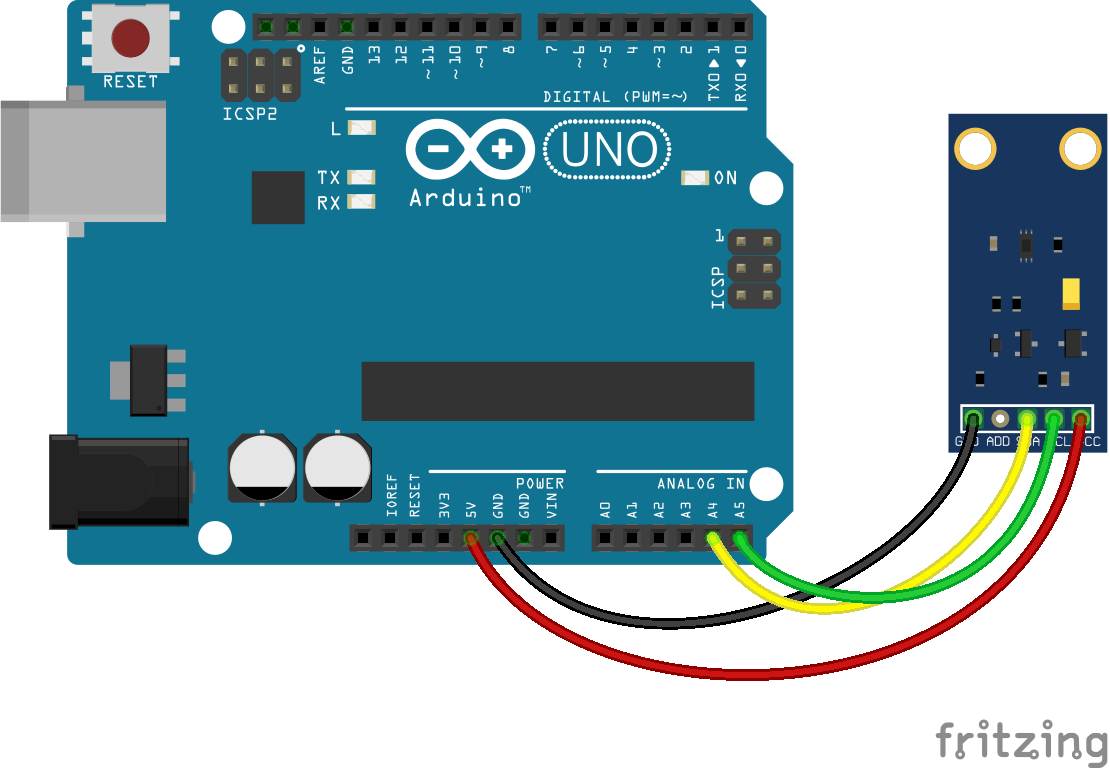
The code consists of includes, initialisations, a simple setup and loop. First the Wire.h standard library and BH1750 sensor library are linked to the code. These are then used to initialise a sensor object and event object that will interact with the module. Next the setup launches the serial monitor, which provides a simple method to debug our output. In the loop we first poll the sensor for fresh data. With the data in hand we can perform further functions on it. In this case simply displaying it on the serial monitor.
Load the code below into the Arduino IDE and upload it to your board.
#include  // include the standard Wire library
#include  // include the BH1750 library
BH1750 GY30; // instantiate a sensor event object
void setup(){
  Serial.begin(9600); // launch the serial monitor
  Wire.begin(); // Initialize the I2C bus for use by the BH1750 library
  GY30.begin(); // Initialize the sensor object
  Serial.println("Flux Workshop Example");
}
void loop() {
  float lux = GY30.readLightLevel(); // read the light level from the sensor and store it in a variable
  Serial.println((String)"Light: " + lux + " lx"); // print the data to the serial monitor
  delay(1000); // Pause for a second before repeating the sensor poll
}
Running
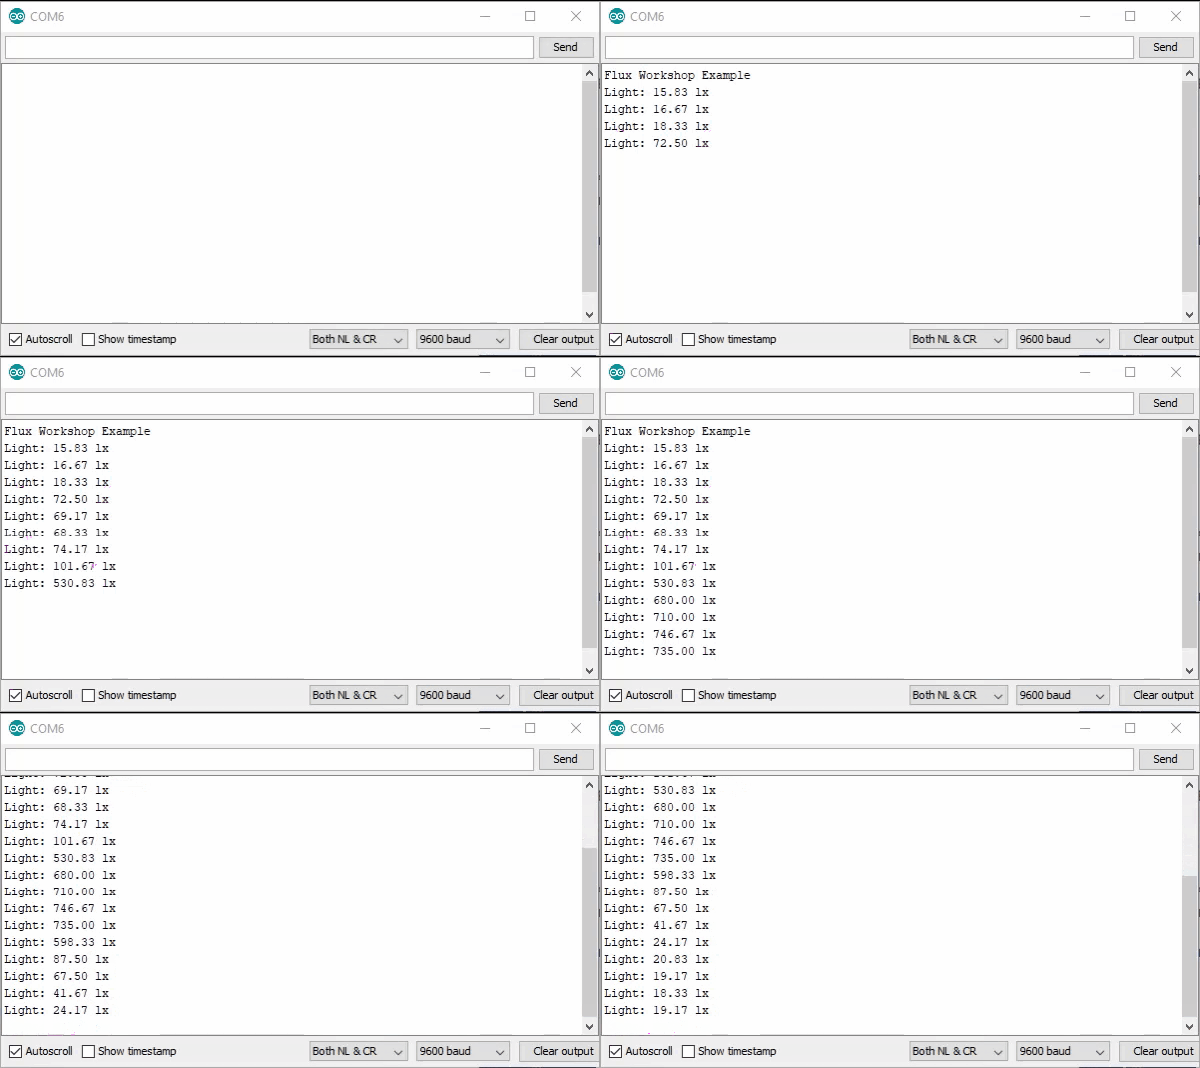
With the board loaded with the program and all the connections made the serial monitor will begin to show the data output by the module. In the example, I start with the module covered with my hand, then remove it. Following that I turn the sensor to the window and back, before covering it once again.
