


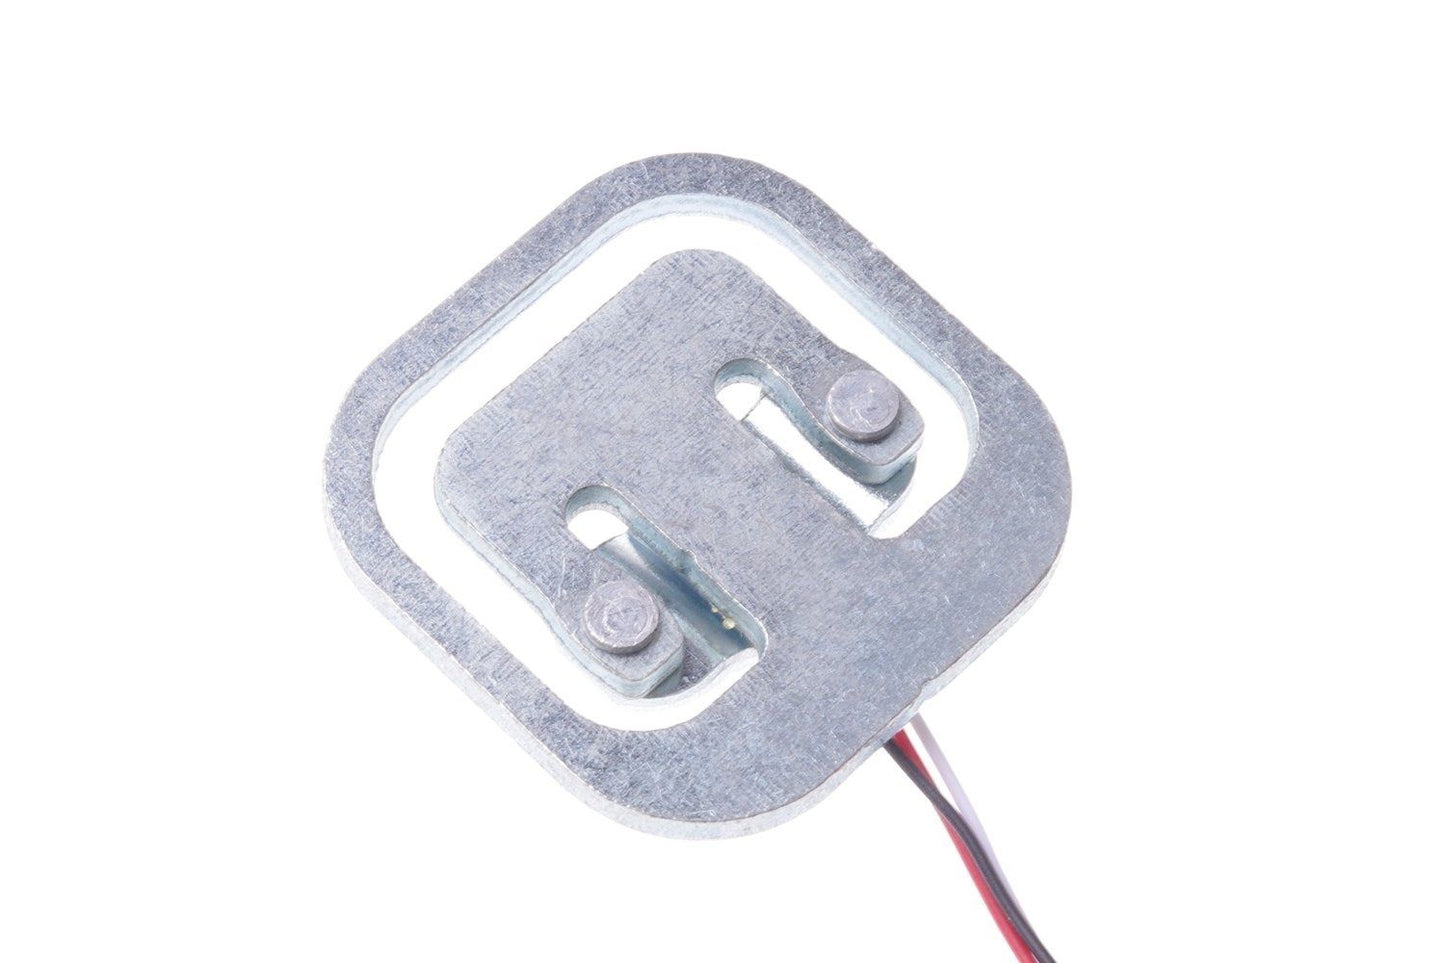

Description
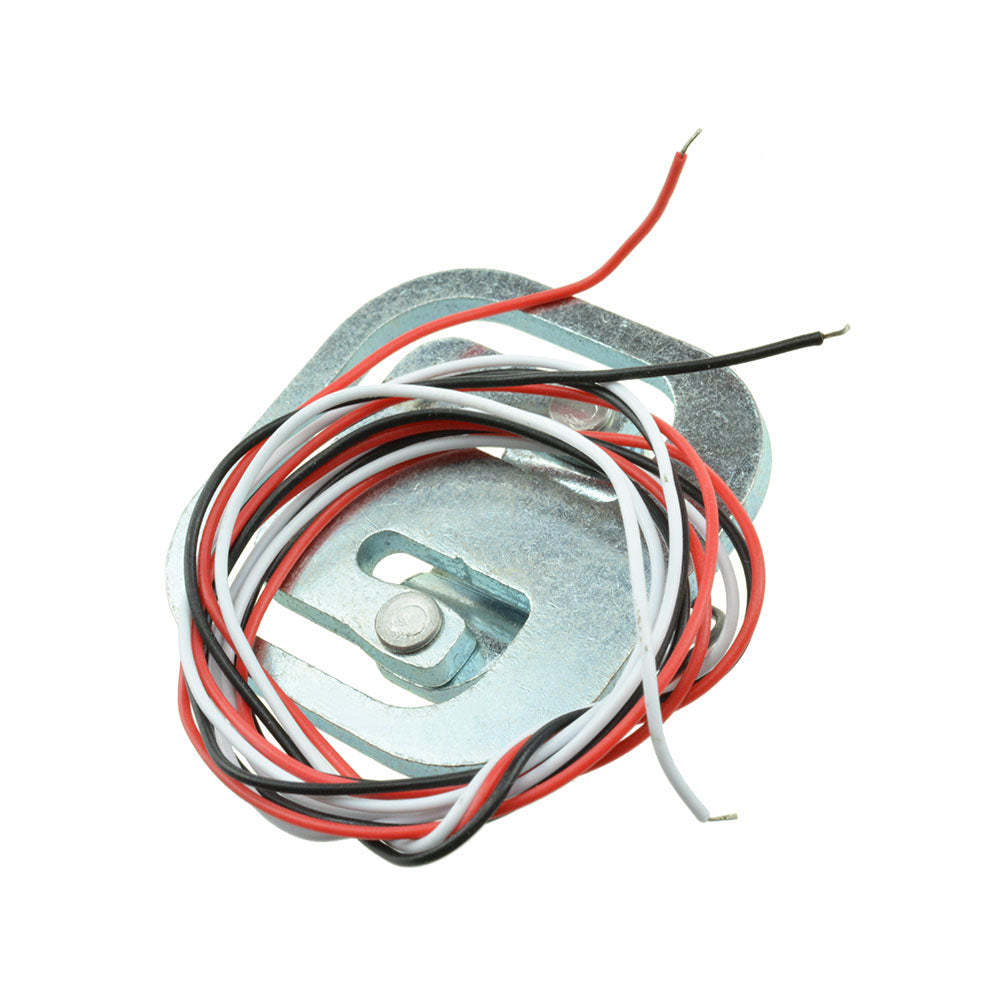
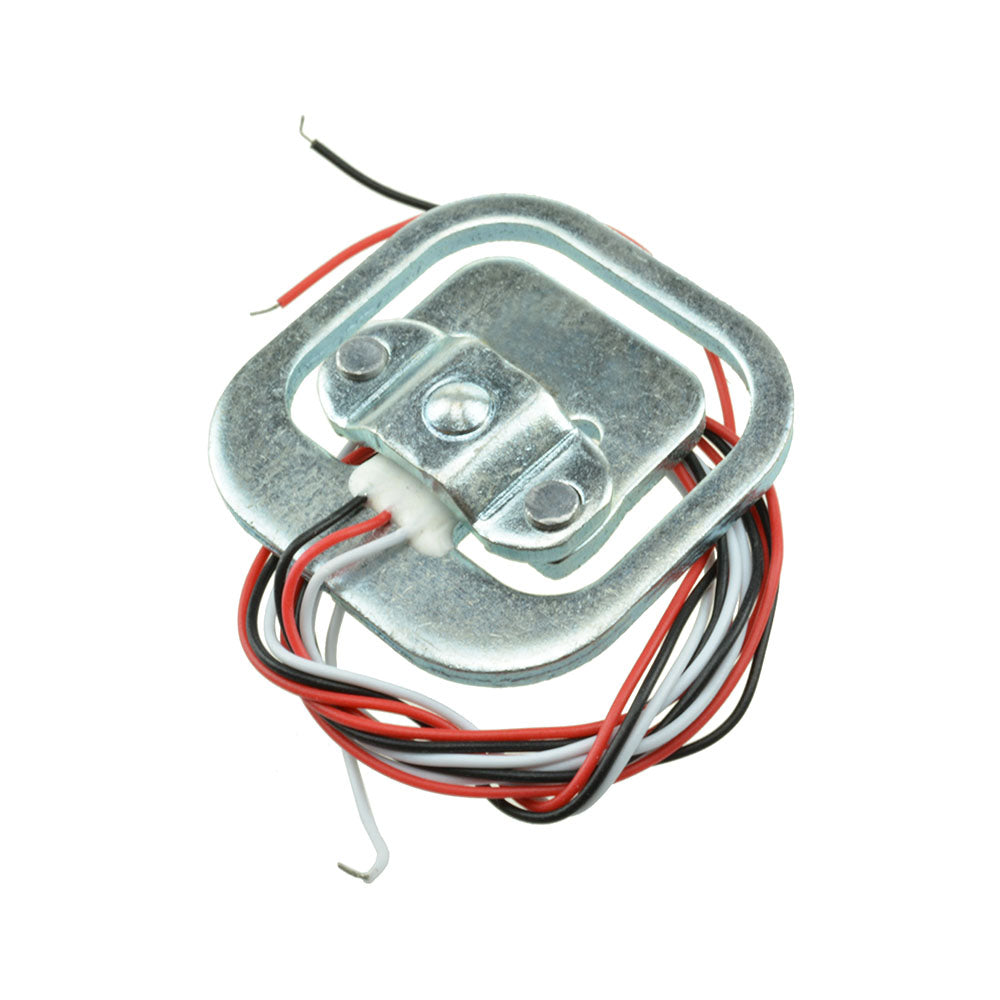
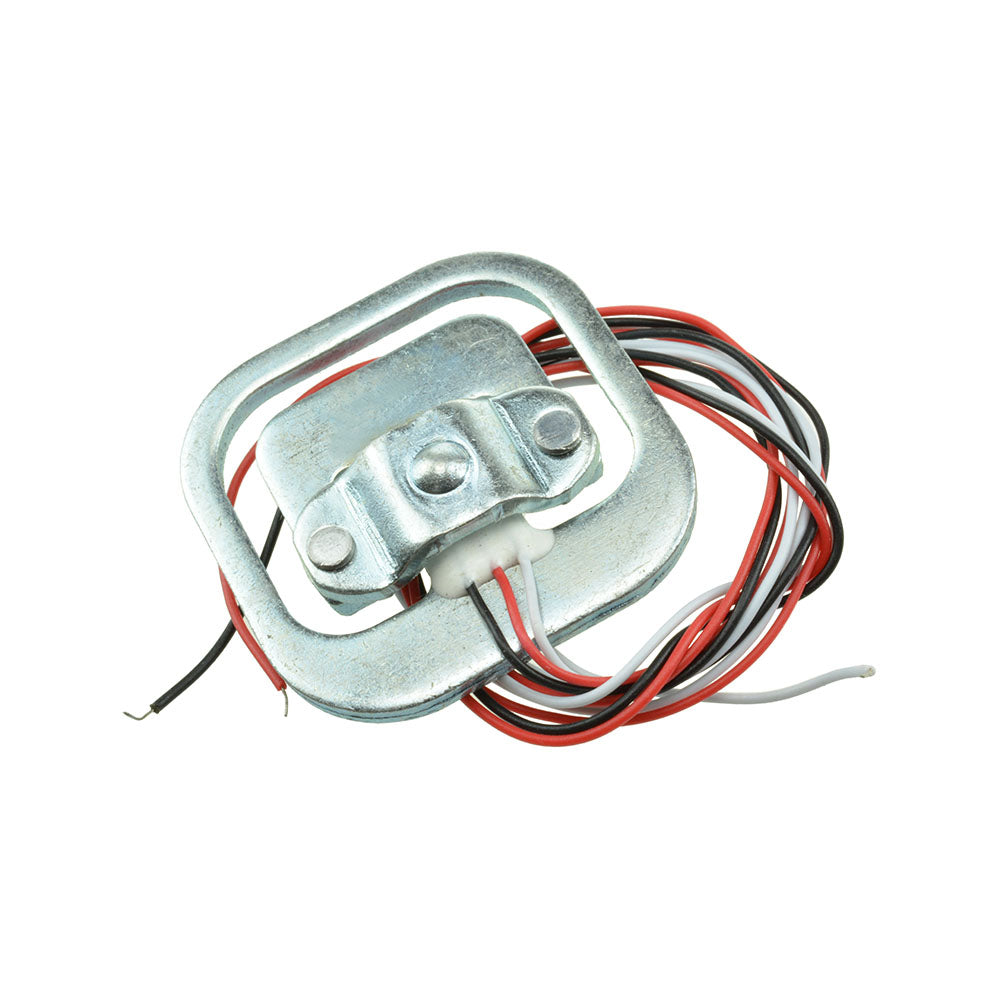
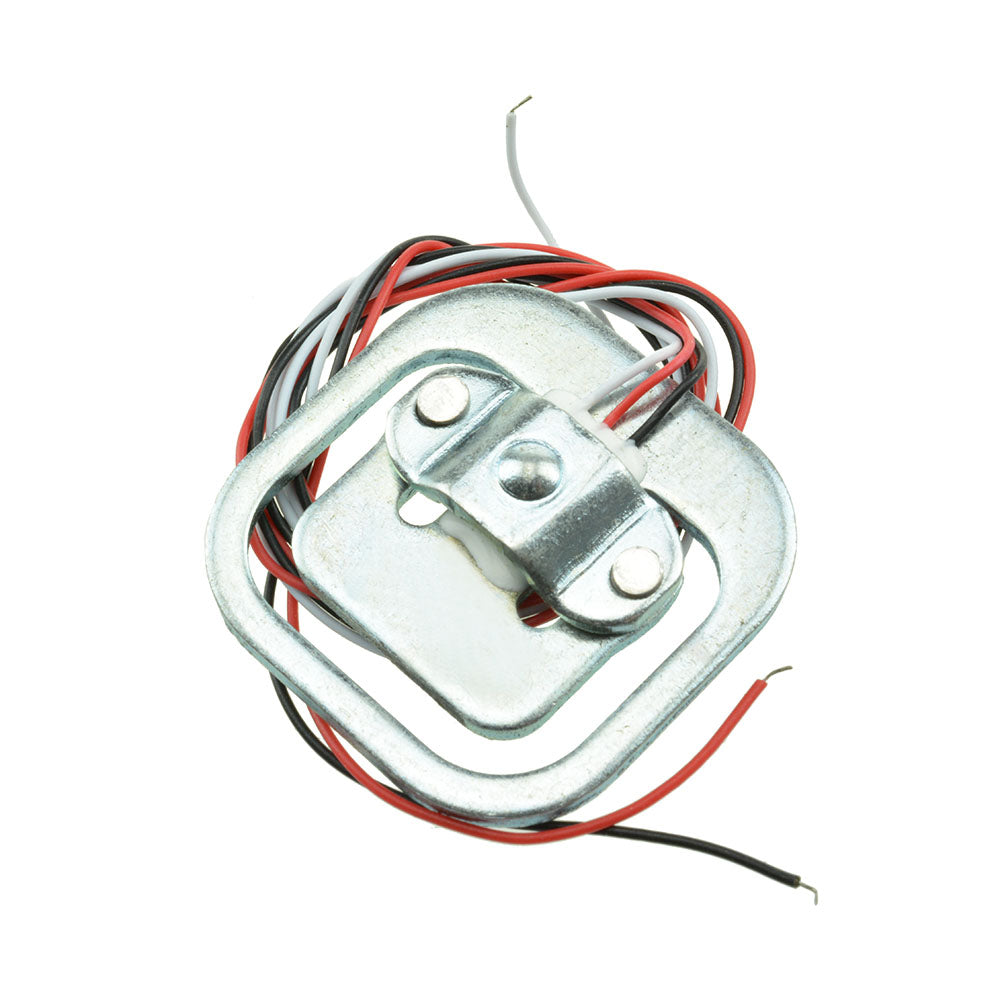
The Weight Load Cell Strain Gauge Sensor 50KG is a type of sensor designed to measure weight up to 50 kilograms. The load cell consists of a strain gauge sensor that generates small voltage changes when a force or weight is applied to it. These voltage changes are proportional to the applied force and can be measured using a high-resolution ADC board like the HX711.
- The load cell can be connected to a microcontroller like an Arduino or Wemos board, and with the help of the HX711 amplifier board, the sensor can accurately measure weight. The load cells can also be connected together to measure higher weights.

Features:
- Capacity: The sensor is capable of measuring weights up to 50 kilograms.
- High accuracy: The strain gauge sensor provides accurate measurements of weight, with an accuracy of up to 0.1% of the rated capacity.
- Easy to use: The load cell can be easily connected to a microcontroller board like Arduino or Wemos, and the readings can be obtained using a simple code.
- Multiple load cells can be connected: Multiple load cells can be connected together to measure higher weights, making it a flexible solution for a variety of applications.
Specification:
- Material: Aluminium
- Dimension: 34 x 34 x 7 (L x W x H) Mm
- Weighing Range: 50 Kg
- Rated Output: 1.0 ± 0.1 mV / V
- Non Linear Output: ± 0.03% F.S
- Hysteresis: 0.03% F.S
- Repeatability: 0.05% F.S
- Creep: ±0.15% F.S /3min
- Temperature effect on span: ±0.03%F.S/10℃
- Comprehensive error: ±0.2% F.S
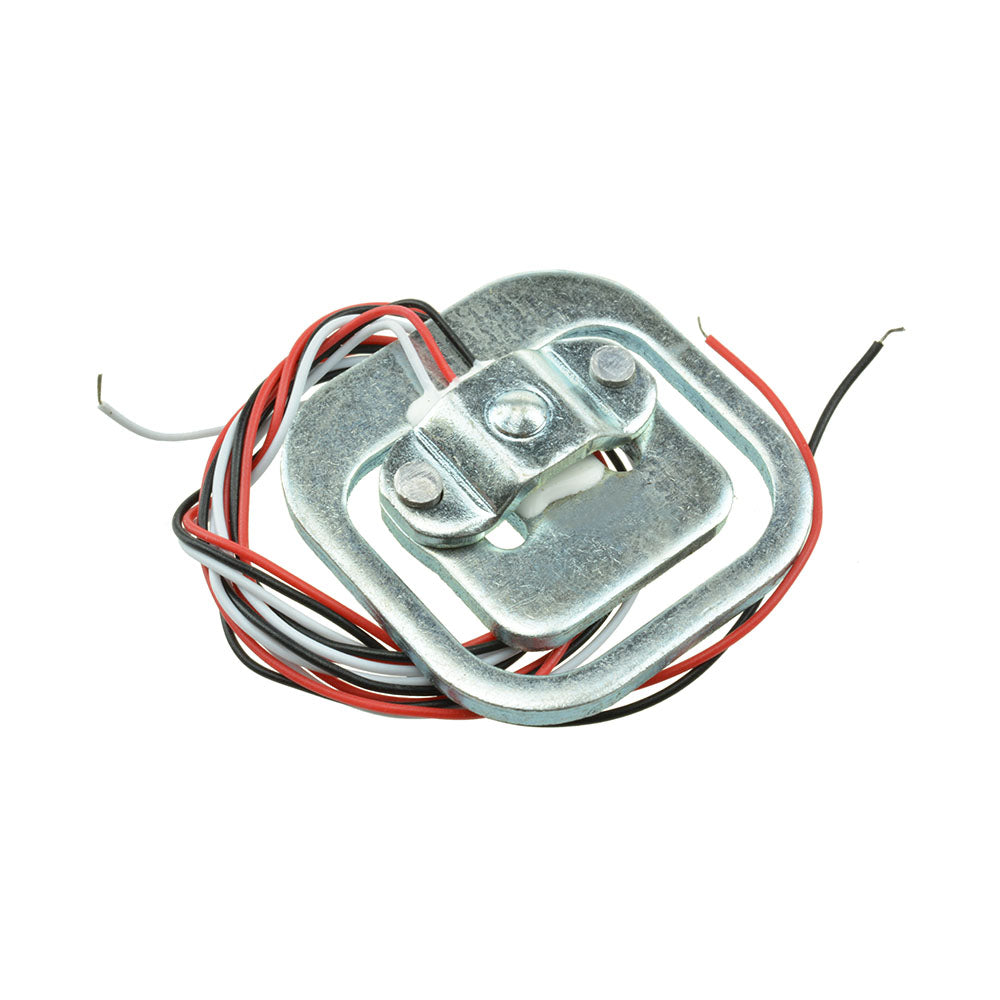
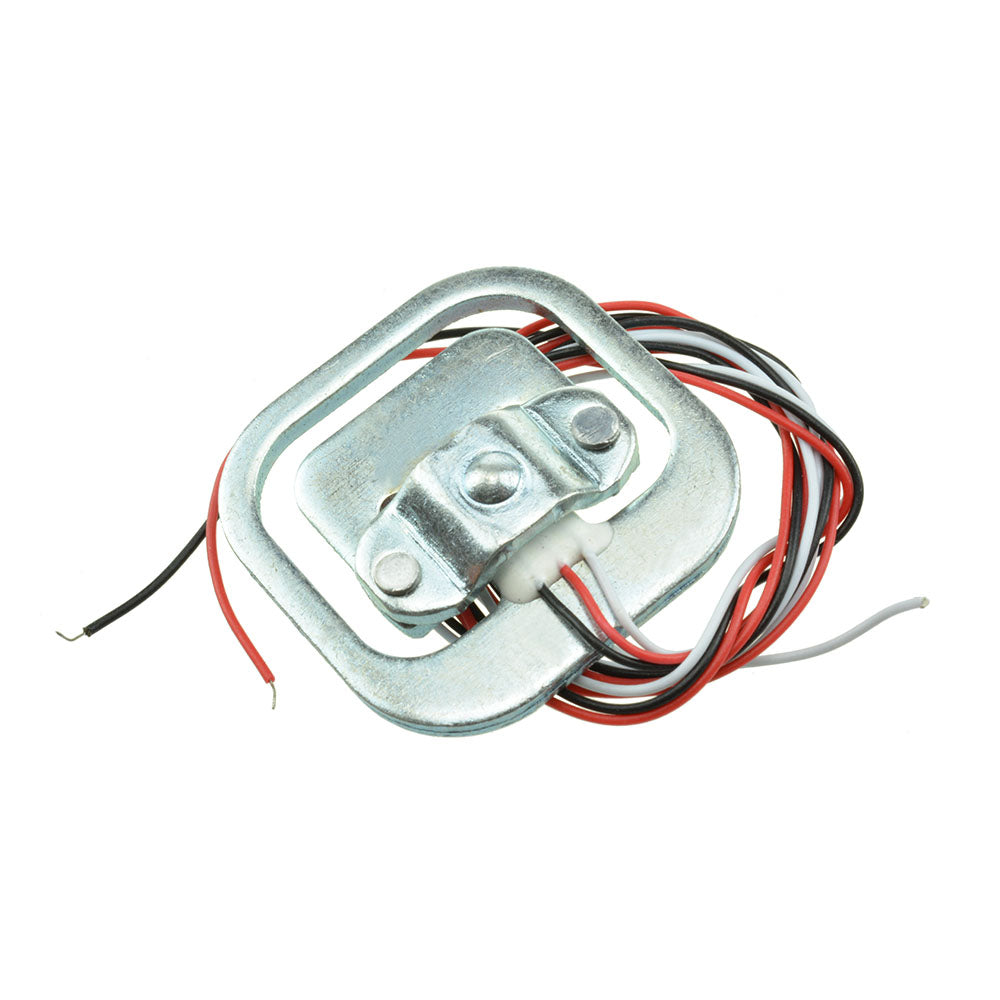
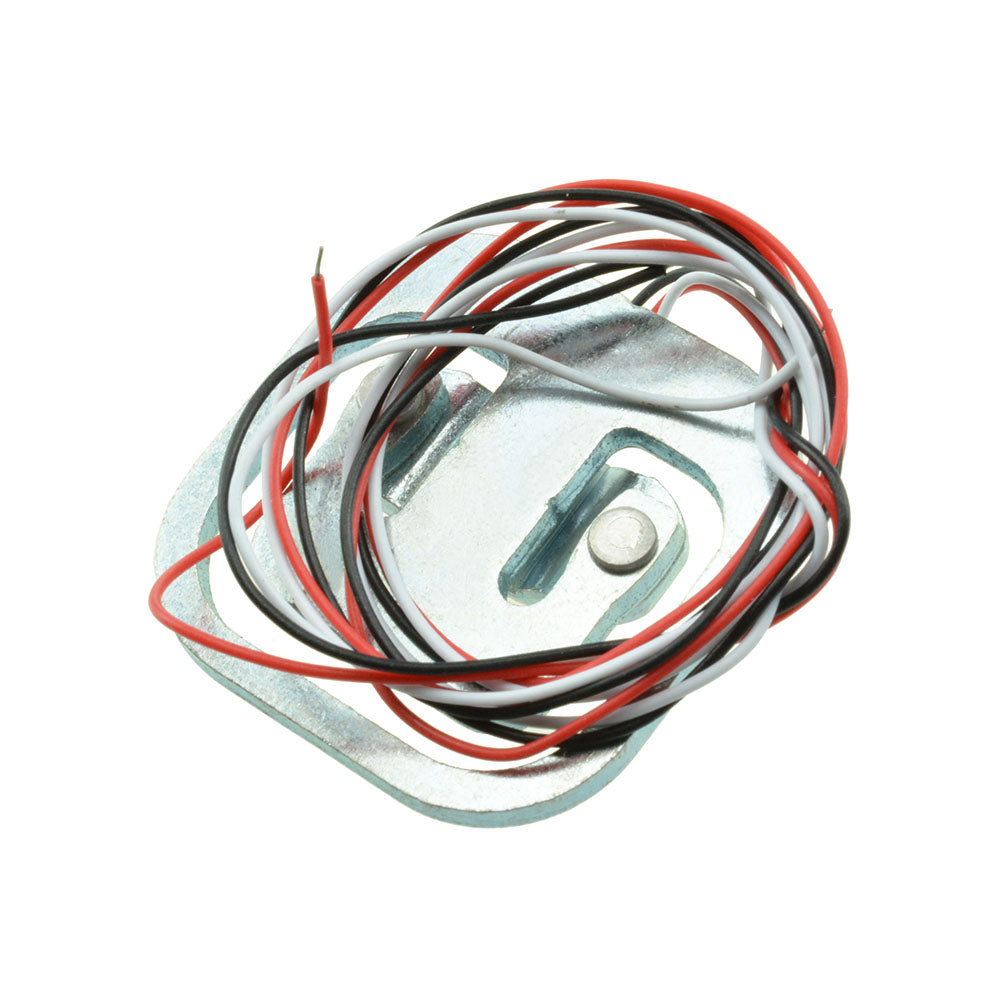
- Cable Length: 18 Cm
- Insulation Resistance: 2000 MΩ
- Zero Balance: ± 0.3 mV/V
- Input Impedance: 1115 ± 10% Ω
- Output Impedance: 1000 ± 10% Ω
Applications:
- Weighing scales: The load cell can be used to measure the weight of objects on a weighing scale, such as in a grocery store, warehouse, or laboratory.
- Industrial automation: The load cell can be used in manufacturing processes to measure the weight of raw materials or finished products, ensuring quality control.
- Force sensors: The load cell can be used as a force sensor in applications such as robotics, where it can measure the force applied by a robot arm.
- Medical devices: The load cell can be used in medical devices such as hospital beds and patient lifts to monitor the weight of patients.
- Agricultural equipment: The load cell can be used in agricultural equipment such as grain silos and animal feeders to measure the weight of grain or feed.
Pin Connections:

Package Includes:
- 1 x Weight Load Cell Strain Gauge Sensor 50KG
Sample Project:
Circuit:
- Step 1: Mount the Load Cells, Mount the 4 load cells to the bottom of the scale in the four corners. Epoxy works well to hold them in place.
- Step 2: Verify the Load Cell Wiring, the wiring diagram is made assuming the load cell is constructed like this picture.
- Step 3:Wire the Load Cells and HX711, See the wiring diagram for how to connect the load cells, HX711, and Arduino. Some of the load cell wires are connected to form what is called a Wheatstone bridge arrangement. This can get a little confusing.

Library:
- Add HX711 Library to Your Arduino IDE using this link
Code:
- The first software step is to determine calibration factors for the scale. To do this, run this code:
/*
 Example using the SparkFun HX711 breakout board with a scale

 This is the calibration sketch. Use it to determine the calibration_factor that the main example uses. It also
 outputs the zero_factor useful for projects that have a permanent mass on the scale in between power cycles.

 Setup your scale and start the sketch WITHOUT a weight on the scale
 Once readings are displayed place the weight on the scale
 Press +/- or a/z to adjust the calibration_factor until the output readings match the known weight
 Use this calibration_factor on the example sketch

 This example assumes pounds (lbs). If you prefer kilograms, change the Serial.print(" lbs"); line to kg. The
 calibration factor will be significantly different but it will be linearly related to lbs (1 lbs = 0.453592 kg).

 Your calibration factor may be very positive or very negative. It all depends on the setup of your scale system
 and the direction the sensors deflect from zero state
 This example code uses bogde's excellent library:"https://github.com/bogde/HX711"
 bogde's library is released under a GNU GENERAL PUBLIC LICENSE
 Arduino pin 2 -> HX711 CLK
 3 -> DOUT
 5V -> VCC
 GND -> GND

 Most any pin on the Arduino Uno will be compatible with DOUT/CLK.

 The HX711 board can be powered from 2.7V to 5V so the Arduino 5V power should be fine.

*/

#include "HX711.h"

#define LOADCELL_DOUT_PIN  3
#define LOADCELL_SCK_PIN  2

HX711 scale;

float calibration_factor = -7050; //-7050 worked for my 440lb max scale setup

void setup()
{
    Serial.begin(9600);
    Serial.println("HX711 calibration sketch");
    Serial.println("Remove all weight from scale");
    Serial.println("After readings begin, place known weight on scale");
    Serial.println("Press + or a to increase calibration factor");
    Serial.println("Press - or z to decrease calibration factor");

    scale.begin(LOADCELL_DOUT_PIN, LOADCELL_SCK_PIN);
    scale.set_scale();
    scale.tare(); //Reset the scale to 0


    long zero_factor = scale.read_average(); //Get a baseline reading
    Serial.print("Zero factor: "); //This can be used to remove the need to tare the scale. Useful in permanent scale projects.
    Serial.println(zero_factor);
}

void loop() {

    scale.set_scale(calibration_factor); //Adjust to this calibration factor

    Serial.print("Reading: ");
    Serial.print(scale.get_units(), 1);
    Serial.print(" lbs"); //Change this to kg and re-adjust the calibration factor if you follow SI units like a sane person
    Serial.print(" calibration_factor: ");
    Serial.print(calibration_factor);
    Serial.println();

    if(Serial.available())
    {
        char temp = Serial.read();
        if(temp == '+' || temp == 'a')
        calibration_factor += 10;
        else if(temp == '-' || temp == 'z')
        calibration_factor -= 10;
    }
}
- After calibrating the scale, you can run this sample program, then hack it up for your own purposes:
/*
 Example using the SparkFun HX711 breakout board with a scale

 This example demonstrates basic scale output. See the calibration sketch to get the calibration_factor for your
 specific load cell setup.

 This example code uses bogde's excellent library:"https://github.com/bogde/HX711"
 bogde's library is released under a GNU GENERAL PUBLIC LICENSE

 The HX711 does one thing well: read load cells. The breakout board is compatible with any wheat-stone bridge
 based load cell which should allow a user to measure everything from a few grams to tens of tons.
 Arduino pin 2 -> HX711 CLK
 3 -> DAT
 5V -> VCC
 GND -> GND

 The HX711 board can be powered from 2.7V to 5V so the Arduino 5V power should be fine.

*/

#include "HX711.h"

#define calibration_factor -7050.0 //This value is obtained using the SparkFun_HX711_Calibration sketch

#define LOADCELL_DOUT_PIN  3
#define LOADCELL_SCK_PIN  2

HX711 scale;

void setup()
{
    Serial.begin(9600);
    Serial.println("HX711 scale demo");

    scale.begin(LOADCELL_DOUT_PIN, LOADCELL_SCK_PIN);
    scale.set_scale(calibration_factor); //This value is obtained by using the SparkFun_HX711_Calibration sketch
    scale.tare(); //Assuming there is no weight on the scale at start up, reset the scale to 0

    Serial.println("Readings:");
}

void loop()
{
    Serial.print("Reading: ");
    Serial.print(scale.get_units(), 1); //scale.get_units() returns a float
    Serial.print(" lbs"); //You can change this to kg but you'll need to refactor the calibration_factor
    Serial.println();
}