Skip to product information
1 of 1

Blue PCB Electronics

2A19B Neo-7m Gps module

2A19B Neo-7m Gps module

Regular price Dhs. 120.00
Regular price Sale price Dhs. 120.00
Sale Sold out
View full details

Description

The GY-NEO-7M module is an advanced GPS module that supports UART communication protocols with active antenna. You can interface this module easily with any microcontroller. This module has a rechargeable battery and can also be connected directly to a computer using a USB-to-TTL converter.

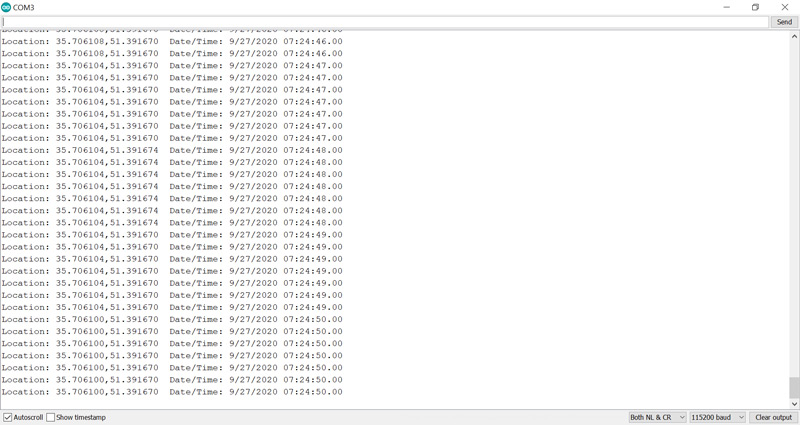
This module can receive data and then calculate the geographical position with very high accuracy and speed. In addition to supporting BeiDou, Galileo, GLONASS, GPS, / QZSS, the module has internal memory to save settings. This module is compatible with Arduino and can be used in any project.

Datasheet

Features

  • U-BLOX NEO-7M module, compact and excellent performance
  • parameters can be set via serial port and saved in EEPROM
  • with SMA interface, you can connect a variety of antennas and strong adaptability
  • compatible with 3.3 V / 5 V level for easy connection to a variety of microprocessor systems
  • back-up rechargeable battery on board
  • with micro USB, no need for USB-TTL tools
  • with TTL interface
  • onboard ceramic antenna
  • sample code: https://playground.arduino.cc/UBlox/GPS
  • evaluation software (U-Center) available for download

Technical Specifications

  • supply voltage: 3.3 to 5 VDC (or by USB cable)
  • connections: VCC (+5 V), GND (ground), TX, RX, PPS (time pulse)
  • default baud rate: 9600 baud
  • dimensions: 4 x 2.5 x 1.5 cm
  • weight: 15 g

Pinout

This sensor has 4 pins:

  • VIN: Module power supply – 5 V
  • GND: Ground
  • RX: Receive data via serial protocol
  • TX: Sending data via serial protocol

You can see pinout of this module in the image below.

Required Materials

Arduino UNO R3 × 1
NEO-7M GPS Module × 1
Male to Female jumper wire × 1


Interfacing NEO-7M GPS Module with Arduino

Step 1: Circuit

The following circuit shows how you should connect Arduino to NEO-7M module. Connect wires accordingly.

Step 2: Code

Install the following library on your Arduino.

https://github.com/mikalhart/TinyGPSPlus

Upload the following code to your Arduino.


#include <TinyGPS++.h>
#include <SoftwareSerial.h>
/*
   This sample sketch demonstrates the normal use of a TinyGPS++ (TinyGPSPlus) object.
   It requires the use of SoftwareSerial, and assumes that you have a
   9600-baud serial GPS device hooked up on pins 4(rx) and 3(tx).
*/
static const int RXPin = 3, TXPin = 4;
static const uint32_t GPSBaud = 9600;

// The TinyGPS++ object
TinyGPSPlus gps;

// The serial connection to the GPS device
SoftwareSerial ss(RXPin, TXPin);

void setup()
{
  Serial.begin(115200);
  ss.begin(GPSBaud);

  Serial.println(F("DeviceExample.ino"));
  Serial.println(F("A simple demonstration of TinyGPS++ with an attached GPS module"));
  Serial.print(F("Testing TinyGPS++ library v. ")); Serial.println(TinyGPSPlus::libraryVersion());
  Serial.println(F("by Mikal Hart"));
  Serial.println();
}

void loop()
{
  // This sketch displays information every time a new sentence is correctly encoded.
  while (ss.available() > 0)
    if (gps.encode(ss.read()))
      displayInfo();

  if (millis() > 5000 && gps.charsProcessed() < 10)
  {
    Serial.println(F("No GPS detected: check wiring."));
    while(true);
  }
}

void displayInfo()
{
  Serial.print(F("Location: ")); 
  if (gps.location.isValid())
  {
    Serial.print(gps.location.lat(), 6);
    Serial.print(F(","));
    Serial.print(gps.location.lng(), 6);
  }
  else
  {
    Serial.print(F("INVALID"));
  }

  Serial.print(F("  Date/Time: "));
  if (gps.date.isValid())
  {
    Serial.print(gps.date.month());
    Serial.print(F("/"));
    Serial.print(gps.date.day());
    Serial.print(F("/"));
    Serial.print(gps.date.year());
  }
  else
  {
    Serial.print(F("INVALID"));
  }

  Serial.print(F(" "));
  if (gps.time.isValid())
  {
    if (gps.time.hour() < 10) Serial.print(F("0"));
    Serial.print(gps.time.hour());
    Serial.print(F(":"));
    if (gps.time.minute() < 10) Serial.print(F("0"));
    Serial.print(gps.time.minute());
    Serial.print(F(":"));
    if (gps.time.second() < 10) Serial.print(F("0"));
    Serial.print(gps.time.second());
    Serial.print(F("."));
    if (gps.time.centisecond() < 10) Serial.print(F("0"));
    Serial.print(gps.time.centisecond());
  }
  else
  {
    Serial.print(F("INVALID"));
  }

  Serial.println();  }

After uploading the code, you can see the output in the serial monitor.