

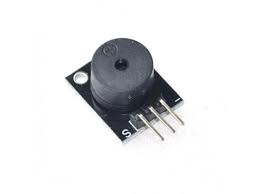
Description
A passive buzzer module is a device that produces an alarm sound when a specific condition is met. It is called "passive" because it doesn't require power to vibrate and produce sound. Instead, it relies on other devices or instruments to trigger it, which is why it is also known as a "trigger interrupt alarm." The most common type of passive buzzer module is the active buzzer module, which is designed to alert users of important events or alarms. It usually consists of a bundle of wires that are used to make contact with sensors and other devices. When a sensor or device is triggered, it sends an electrical signal to the buzzer module, which then vibrates and produces an alarm
Specifications
- No oscillation source,need square wave(frequency 2K-5K ) to drive
- Audion 9012 drive;
- Work Voltage: 3.3-5V
- Set bolt hole,easy to assemble
- PCB Dimension: 3.3cm*1.3cm
Pinout
Vcc: 3.3~5V
GND: the Ground
I/O: I/O interface of SCM
Package includes:
1` X Passive KY-006 Buzzer Alarm Module
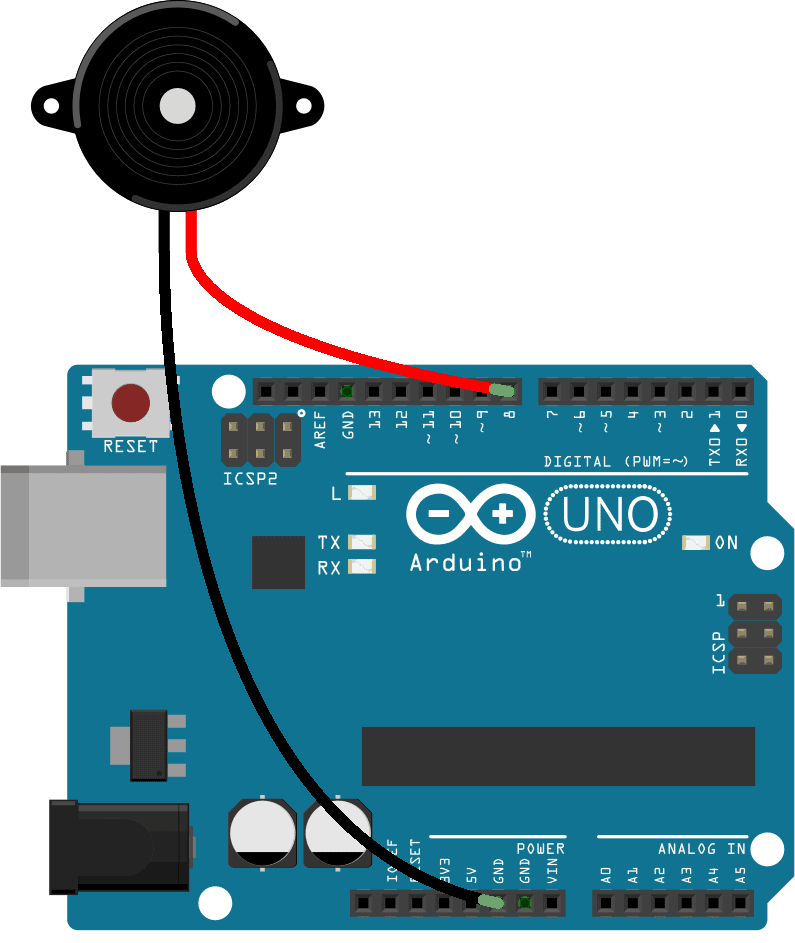
How to connect a passive buzzer to the Arduino
Let’s build a circuit that cycles through a set of musical notes from A to G.
You will need these parts:
- Arduino Uno
- Passive buzzer
First, connect a passive buzzer to the Arduino like this:
How to program a passive buzzer on an Arduino
Once the passive buzzer is connected, upload this code the Arduino:
int buzzerPin = 8;

void setup() {
  pinMode(buzzerPin, OUTPUT);

  tone(buzzerPin, 1000, 2000);
}

void loop() {
  tone(buzzerPin, 440); // A4
  delay(1000);

  tone(buzzerPin, 494); // B4
  delay(1000);

  tone(buzzerPin, 523); // C4
  delay(1000);

  tone(buzzerPin, 587); // D4
  delay(1000);

  tone(buzzerPin, 659); // E4
  delay(1000);

  tone(buzzerPin, 698); // F4
  delay(1000);

  tone(buzzerPin, 784); // G4
  delay(1000);

  noTone(buzzerPin);
  delay(1000);
}
Explanation of the code
First we declare a variable for the buzzerPin and set it equal to Arduino pin 8. Then we set buzzerPin as an OUTPUT in the setup() section.
If you want a sound to play when your sketch starts up for the first time, you can put the tone() function in the setup() section. Since the setup() section is executed only once when the sketch starts, the buzzer will produce a single tone at start up. In this sketch, we will have a 1,000 hertz tone play for 2,000 milliseconds at start up.
In the loop() section we cycle through a scale of seven musical notes, A, B, C, D, E, F and G. The frequencies of each musical note in hertz can be found online. There are seven notes, so we need seven tone() functions.
Each tone() function has the first parameter set to output at the buzzerPin. The second parameter is the frequency in hertz. The A4 note is 440 hertz, so 440 is used as the second parameter in the tone() function for the A4 musical note. For note B4, the second parameter is 494, corresponding to 494 hertz. C4 is 523 hertz, and so on all the way up to G4.
The duration parameter doesn’t work very well when the tone() function is used in the loop() section. So to set the tone duration in the loop, use a delay() function after each tone() function. In this sketch, there is a delay() function that specifies a 1,000 millisecond (one second) delay after each tone() function.
At the end of the loop, the noTone() function and a delay of 1,000 milliseconds is used to add a one second period of silence before the loop repeats.
After you connect the buzzer and upload the code, you should hear the buzzer cycling through the 7 notes in a loop.